Choose Your Wrap


Sign Up &
Get 10% Off



TESTIMONIALS
STRAIGHT FROM THE FEED
"I recently gave Revision Vinyl a shot and I'm thrilled with the results! The ultra gloss series I ordered arrived quickly, and I must say, the quality is exceptional. It easily surpasses many pricier vinyl brands I've tried before. If you're on the fence, take it from me—this brand is truly a game-changer!"
JAMES SAHLEW, MN
"I just received my vinyl roll from Revision Vinyl and I couldn't be happier! The customer service was excellent and the pricing beats out all the other brands I've looked into. This quality vinyl will definitely enhance our shop's projects and I can't wait to get started using it."
JOSE L, FL
"At first, I hesitated before trying Revision Vinyl. However, after using their products, I am extremely happy with my decision. The vinyl is not only easy to apply, but the variety of colors available is impressive. If you're considering a brand for your vinyl needs, I wholeheartedly suggest going with Revision Vinyl."
MOIZ RUDENS, CA
Designed in California. Manufactured in China.


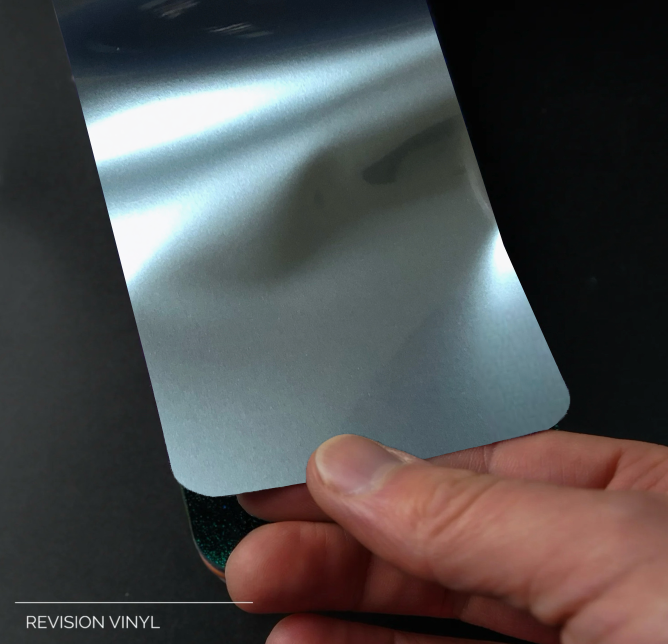
VIBRANT COLORS. ORANGE PEEL FREE. PAINT LIKE QUALITY
"REGARDLESS IF YOUR A PROFESSIONAL OR A AMATEUR, NEVER SETTLE FOR ANYTHING LESS."
perfection.
CRAFT VINYL
Decals and sign-making professionals, as well as those who love DIY arts and crafts.
Discover the ultimate crafting companion with our craft vinyl! Perfectly designed for both seasoned professionals and newcomers alike, this vinyl works seamlessly with most vinyl cutters, including Cameo, Cricut, Rolands, and Graphtec. Enjoy easy usage and effortless weeding at an unbeatable price, giving you the freedom to create stunning decals and signs that stand out.
ADVANTAGES:
CRAFT VINYL SPECS:
CRAFT VINYL SPECS:
Easy To Weed
Craft vinyl is designed to be easily cut with a variety of tools, including cutting machines, and the designs can be easily weeded for clean, precise results.
Versatility
Craft vinyl can be used to create a wide variety of stickers, decals, and other crafts, including custom wall decals, clothing designs, and unique accessories.
Durability
Craft vinyl, especially permanent vinyl, is made from durable, plastic-like materials that resist tearing, fading, and water damage, making it suitable for both indoor and outdoor use lasting 3-4 years.
Outdoor Durability:
Release Paper:
Adhesive Strength:
Thickness:
80 Micron
20 um
120g
3-4 Years
CRAFT VINYL SPECS:


PORTFOLIO
SEE RESULTS,
SEE REINVENTIONS
TESTIMONIALS
STRAIGHT FROM THE FEED
"I recently gave Revision Vinyl a shot and I'm thrilled with the results! The ultra gloss series I ordered arrived quickly, and I must say, the quality is exceptional. It easily surpasses many pricier vinyl brands I've tried before. If you're on the fence, take it from me—this brand is truly a game-changer!"
JAMES SAHLEW, MN
"I just received my vinyl roll from Revision Vinyl and I couldn't be happier! The customer service was excellent and the pricing beats out all the other brands I've looked into. This quality vinyl will definitely enhance our shop's projects and I can't wait to get started using it."
HALIT KEIGAD, FL
"At first, I hesitated before trying Revision Vinyl. However, after using their products, I am extremely happy with my decision. The vinyl is not only easy to apply, but the variety of colors available is impressive. If you're considering a brand for your vinyl needs, I wholeheartedly suggest going with Revision Vinyl."
MOIZ RUDENS, CA
BEST SELLERS
APPLICATION TOOLS
Our Promise
At revision Vinyl, we make enhancing your vehicle's appearance easy and affordable. With our commitment to free shipping on every order, regardless of the amount spent, you can trust us to deliver top-quality vinyl wraps directly to your door.
SERVING INDUSTRY LEADERS






"I recently gave Revision Vinyl a shot and I'm thrilled with the results! The ultra gloss series I ordered arrived quickly, and I must say, the quality is exceptional. It easily surpasses many pricier vinyl brands I've tried before. If you're on the fence, take it from me—this brand is truly a game-changer!"
Milke A.

"I just received my vinyl roll from Revision Vinyl and I couldn't be happier! The customer service was excellent and the pricing beats out all the other brands I've looked into. This quality vinyl will definitely enhance our shop's projects and I can't wait to get started using it."
Jose L.

"At first, I hesitated before trying Revision Vinyl. However, after using their products, I am extremely happy with my decision. The vinyl is not only easy to apply, but the variety of colors available is impressive. If you're considering a brand for your vinyl needs, I wholeheartedly suggest going with Revision Vinyl."
Lim J.

Mirrors
Clean the mirrors: Start by cleaning the wing mirrors thoroughly with soap and water. Rinse them off and wipe them dry with a clean cloth. Use rubbing alcohol to remove any dirt, grease, or wax residue. This step ensures proper adhesion of the vinyl wrap. Measure and cut the vinyl wrap: Measure the dimensions of each wing mirror and add a few extra inches on each side to allow for proper coverage. Use a knife or precision blade to cut the vinyl wrap to the appropriate size and shape. It's a good idea to cut a template out of paper first to ensure accurate measurements. Apply the vinyl wrap: Begin by peeling off a small portion of the vinyl wrap's backing and align it with the edge of one wing mirror. Carefully press it onto the mirror, making sure to avoid air bubbles. Gradually peel off the backing as you continue to apply the vinyl wrap, using a squeegee or plastic card to smooth out any wrinkles or bubbles as you go. Repeat the process for the other wing mirror. Stretch and heat the vinyl wrap: Similar to side view mirrors, you may need to stretch the vinyl wrap slightly to conform to the wing mirrors' curves. Use a heat gun or hairdryer on a low setting to warm the vinyl wrap, making it more pliable and easier to stretch. Be cautious not to overheat the vinyl or the mirror's surface. Trim the excess vinyl: Once both wing mirrors are covered, use a knife or precision blade to trim the excess vinyl wrap around the edges of the mirrors. Take your time and make precise cuts to achieve a clean and professional-looking finish. Finishing touches: After trimming, go over the wrapped wing mirrors with the heat gun or hairdryer again, applying gentle heat to the edges. This will help the vinyl wrap adhere more securely and eliminate any remaining wrinkles or imperfections.

Trunk
The truck is often regarded as one of the most challenging items to wrap; however, it can be quite straightforward if you take your time and follow the instructional video. Ensure that the surface is clean and properly wrapped.

Door Gaps Seals
Ensure that the final results are pristine, resembling factory standards, which necessitates that the door seals and all other seals appear impeccable.

Specific Item
To learn how to wrap specific sections of your vehicle rather than the entire surface, please view our video that demonstrates the process for wrapping small components both inside and outside your car.

Inner Door Handles
To achieve a high-quality vinyl wrap typically costing between $3,000 and $4,000 at a fraction of the price, it is essential to master the technique of wrapping behind the door handles. This skill is vital for ensuring the overall quality of the vinyl wrap.

Air Bubbles
When nearing completion of your vinyl wrap and observing a significant air bubble forming, consider alternative methods to eliminate the bothersome bubble without resorting to starting over or puncturing the material.
Tips and Techniques
"IT'S NEVER TOO LATE TO LEARN ANYTHING."
At Revision Vinyl, we empower everyone to transform their vehicles with our easy-to-use vinyl wrap products. Our mission is to make car wrapping accessible to all, so you can achieve that standout look without the hefty price tag of professional services. Dive into our collection of videos filled with tips and tricks to guide you through the wrapping process, ensuring a top-quality finish that rivals any shop. Start your DIY wrapping journey today and discover the joy of personalizing your ride to match your unique style!
EXPOS AND EVENTS

WRAP CON 2022
At Revision Vinyl, we are passionate about the art of vinyl wrapping, and our recent experience at Wrap Con 2024 reaffirmed that love. It was an incredible opportunity to explore the latest trends in colors and designs, and we couldn't be more excited to share these innovations with our clients. Our mission is to transform vehicles and surfaces with stunning wraps that not only enhance their appearance but also protect them. Join us as we push the boundaries of creativity and craftsmanship in the vinyl wrap industry.

ISA SIGN EXPO 2024
Revision Vinyl is thrilled to present our new line of printable vinyl at the ISA Sign Expo! We believe that creativity knows no bounds, and our innovative vinyl solutions empower you to bring your ideas to life. Our station is designed to give you a firsthand look at the quality and potential of our products, making it easier than ever for you to create stunning visuals for signage, crafts, and more. Stop by and discover how our high-quality materials can enhance your projects!

REVISION VINYL
Welcome to Revision Vinyl, where color and creativity meet! With an extensive inventory of hundreds of colors in both matte and gloss finishes, we offer unparalleled options for all your vinyl wrap needs. Our commitment to quality means you can trust that every piece will exceed your expectations. No matter the size or scope of your project, our knowledgeable team is here to support you every step of the way. Let us help you add that perfect touch to your design today!


